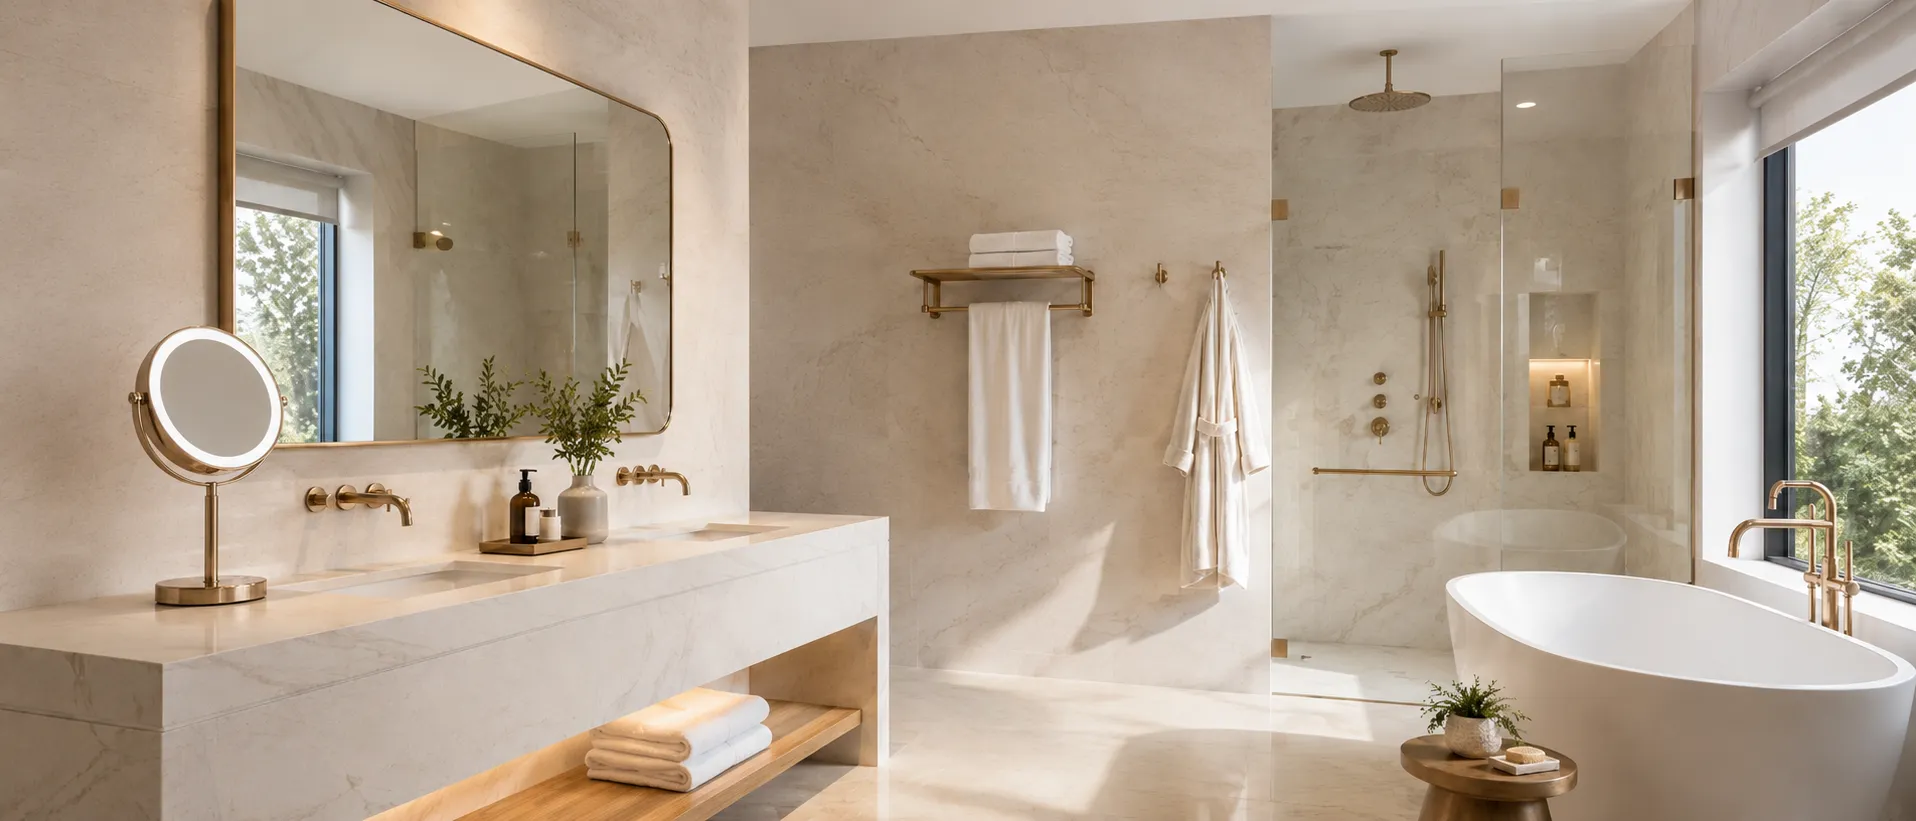
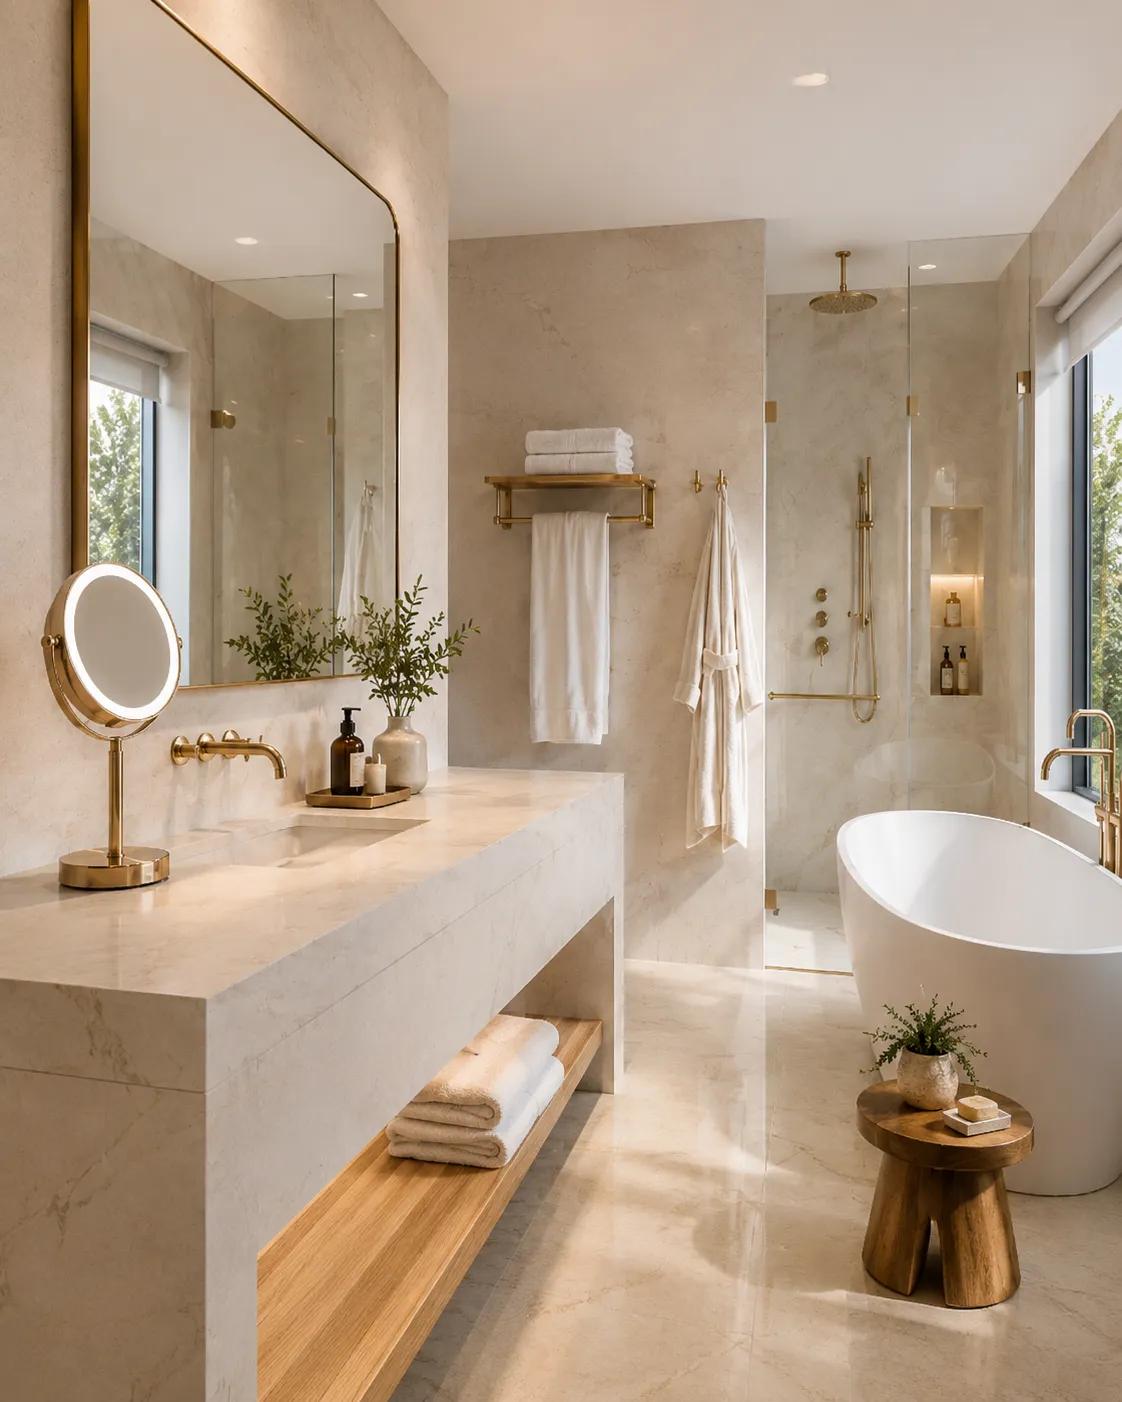
Wall-mounted LED bathroom mirror installation
Wall-mounted LED bathroom mirrors are widely used in hotels, apartments, villas, retail spaces and commercial bathroom projects. A good mirror installation is not only about fixing the product to the wall. It also involves wall structure, electrical planning, mirror size, lighting control, safety requirements and long-term maintenance.
For project buyers, contractors and designers, proper installation planning can reduce project delays and improve the final bathroom appearance. This guide explains the key installation considerations for wall-mounted LED bathroom mirrors in hospitality and commercial projects.
Plan Installation Before Production
Installation planning should begin before the mirror is manufactured. For custom bathroom mirror projects, the project team should confirm mirror size, wall position, wiring location, switch control method and mounting requirements before placing a bulk order.
This is especially important for hotel projects where many rooms may use the same mirror model. If the power cable, mounting holes or wall switch position are not planned correctly, installation can become slower and more expensive during the project stage.
Before production, buyers should confirm project drawings, vanity dimensions, wall material, mirror height and electrical requirements with the manufacturer.
Check Wall Structure and Mounting Position
Wall structure is one of the most important parts of mirror installation. LED bathroom mirrors are heavier than standard mirrors because they may include a frame, LED lighting, anti-fog film and electrical components.
Before installation, the wall should be strong enough to support the mirror. The installer should confirm whether the wall is concrete, brick, tile, drywall or another material. Different wall types may require different mounting hardware.
For hotel and commercial projects, the mirror position should also match the vanity, basin, faucet and lighting design. The mirror should be centered and aligned with the bathroom layout to create a clean and professional appearance.
Confirm Mirror Height and Vanity Alignment
Mirror height should be planned according to the vanity height, room type and user experience. In most bathroom projects, the mirror is installed above the vanity and aligned with the sink area.
For single vanities, one mirror is usually centered above the basin. For double vanities, the designer may choose one large continuous mirror or two separate mirrors. In hotel rooms, consistent mirror height across different rooms helps create a more standardized project appearance.
Before final installation, the project team should check the mirror position visually and confirm that it does not conflict with faucets, wall lamps, shelves, outlets or other bathroom accessories.
Confirm Power Supply and Switch Control
LED bathroom mirrors may include lighting, anti-fog functions, touch switches, dimming or CCT adjustment. These functions require proper electrical planning.
For hotel projects, many buyers prefer hardwired mirrors controlled by the bathroom wall switch. This makes operation simple for guests and easier for hotel maintenance teams. Some projects may also require a mirror touch switch or combined control depending on the design requirement.
Electrical installation should always be handled by qualified professionals according to local electrical codes and project requirements. Before installation, confirm the voltage, wiring method, control type and safety requirements for the target market.
Consider Bathroom Safety and IP Rating
Because bathroom mirrors are installed in humid environments, safety is an important consideration. Buyers should confirm whether the mirror is suitable for bathroom use and whether the required IP rating matches the installation area.
IP44 is commonly used for many bathroom mirror applications where protection against splashing water is required. For areas with higher water exposure, the project team should confirm whether a higher protection level is needed.
For international projects, buyers may also need certification or compliance support such as ETL, SAA, CE, RoHS or other market requirements.
Check Lighting and Anti-Fog Functions
Before installation is completed, the mirror lighting and anti-fog functions should be tested. The installer should confirm that the LED light works correctly, the switch control responds properly and the anti-fog function operates as expected.
For mirrors with CCT or dimming options, the project team should test all lighting modes. This helps identify issues early before the bathroom is fully completed.
For hotel projects, sample approval before mass production can also help confirm lighting color, brightness, mirror size and control method.
Packaging and Room Labeling for Projects
For large projects, packaging and labeling are important. Each mirror should be packed safely to reduce transportation and installation damage. Project packaging can include room type labels, model numbers or installation notes to help contractors identify products quickly.
Clear packaging and labeling can improve installation efficiency, especially when different room types require different mirror sizes or finishes.
For retail and private label programs, packaging may also include brand design, instruction manuals and customized product information.
Maintenance After Installation
After installation, bathroom mirrors should be cleaned and maintained properly. Avoid using harsh chemicals or abrasive tools on mirror glass and frame surfaces. For framed mirrors, the finish should be protected from scratches during construction and cleaning.
For hotel projects, maintenance teams should understand how the mirror is controlled and how to clean the mirror surface safely. Proper use and maintenance can help extend the mirror’s service life and preserve its appearance.
Work With an OEM/ODM Bathroom Mirror Manufacturer
Installation success depends not only on the installer but also on product design and production support. A professional bathroom mirror manufacturer can help buyers confirm mirror size, frame finish, lighting function, anti-fog system, wiring method, packaging and project requirements before production.
NISSIYA provides OEM and ODM bathroom mirror solutions for hospitality, retail and commercial projects. Our products include LED bathroom mirrors, framed bathroom mirrors, backlit mirrors, front-lit mirrors and wall-mounted makeup mirrors.
We support custom sizes, shapes, frame finishes, lighting options, anti-fog functions, packaging and private label requirements.
Need Wall-Mounted LED Bathroom Mirrors for Your Project?
If you are sourcing wall-mounted LED bathroom mirrors for hotels, apartments, commercial bathrooms or retail programs, contact NISSIYA for customized OEM/ODM mirror solutions and project support.